

File Explorer is the electronic filing system of your PC and where the infrastructure of where your work is held. You can recognise it by the folder icon. It is a good idea to pin File Explorer to your task bar in order to access it easily. This can be done by typing ‘File Explorer’ in the search box on the bottom of your screen. Scroll to the the File Explorer app that appears in the selection, right click and ‘pin to taskbar’.
File explorer is made up of all your files which are held in folders. These files can be physically held on the hard drive of your computer of on a cloud application, such as Microsoft’s OneDrive or Dropbox. For the purposes of this tutorial, I am looking at those on the computer’s hard drive and will cover cloud storage in later tutorials.
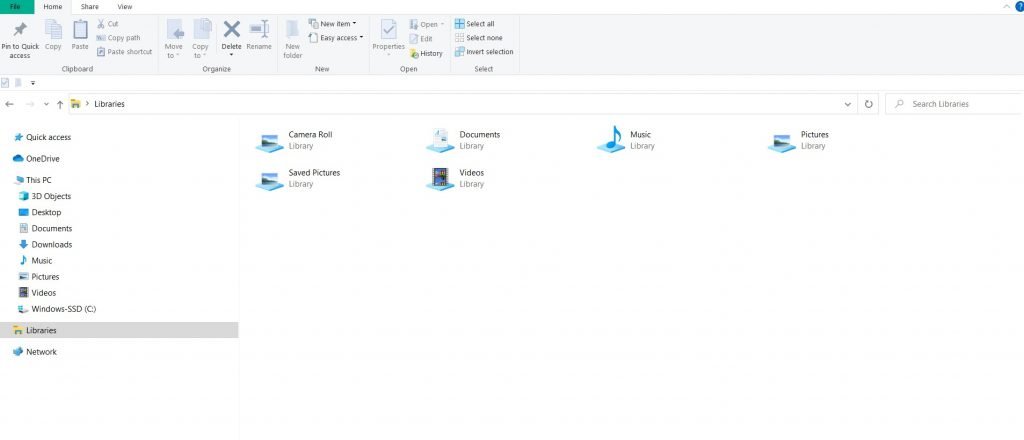
To understand how File Explorer works, begin by clicking on the Folder icon, now pinned to the task bar, usually at the bottom of the desktop screen. The ribbon across the top of the FE (File Explorer) screen has four tabs, File, Home, Share and View. This ribbon can be displayed or hidden by using the small arrow to the top right of the application screen.

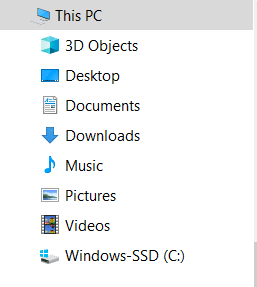
Windows sort your files in your PC under the headings – Desktop, Documents, Downloads, Music, Pictures, Videos and Window C or SSD. If you click on ‘This PC’ you will see how much disk space is available on your PC, at the bottom of the screen.
.
Desktop: Any files or folders held in the desktop folder will be displayed in the main area of your desktop all the time. While it is generally not a good idea to have a cluttered desktop, it is a useful place to have programs and files that you use a lot of the time.
Downloads is where things are stored when you download from the internet. For a demo of this, go to Spotify https://www.spotify.com/uk/download/windows/ and download the program. You will see the program displayed at the bottom left of the screen. Open File Explorer and go to the downloads file and you will see the Spotify program you just downloaded. If your Download folder is cluttered, type Spotify in the search bar in the top right corner to find the program. It is good practice to keep the download folder uncluttered and delete old files that are held in your download folder.
.
Windows – SSD or C Drive is the location of program files and operating system files.
Documents, Music, Pictures and Videos are the locations of where you store and organise your files on your PC. We will cover cloud storage later.
.
Ways of creating a New Folder in Documents.
Click on Documents to ensure it is highlighted.
- In the Home Screen, on the Ribbon, click ‘New Folder’, and this new folder will appear on the left of the screen under the ribbon, where you can name the folder.
- Right click any empty space, to the left of the screen under the ribbon. Scroll to ‘New’, Scroll to Folder and name the folder (as above).
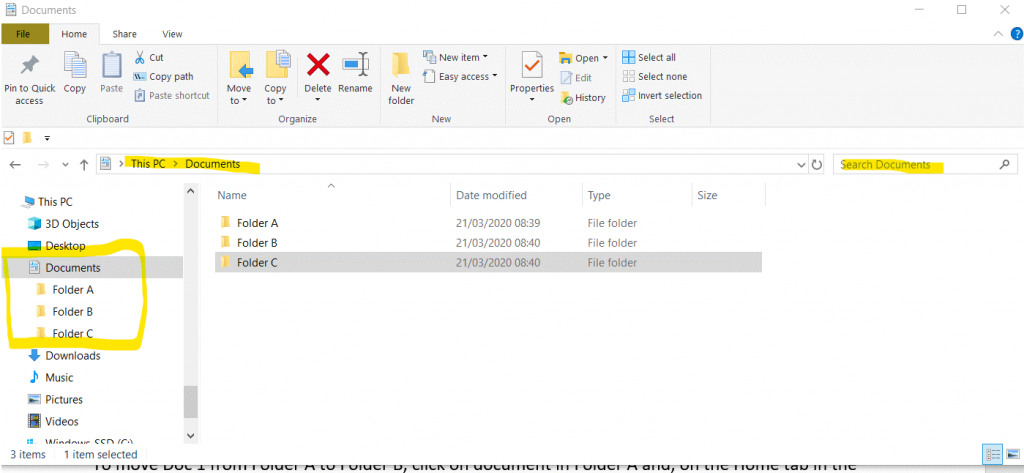
For the purpose of this tutorial, please create Folder A, Folder B and Folder C – which you can delete later. Now we will add files to these folders.
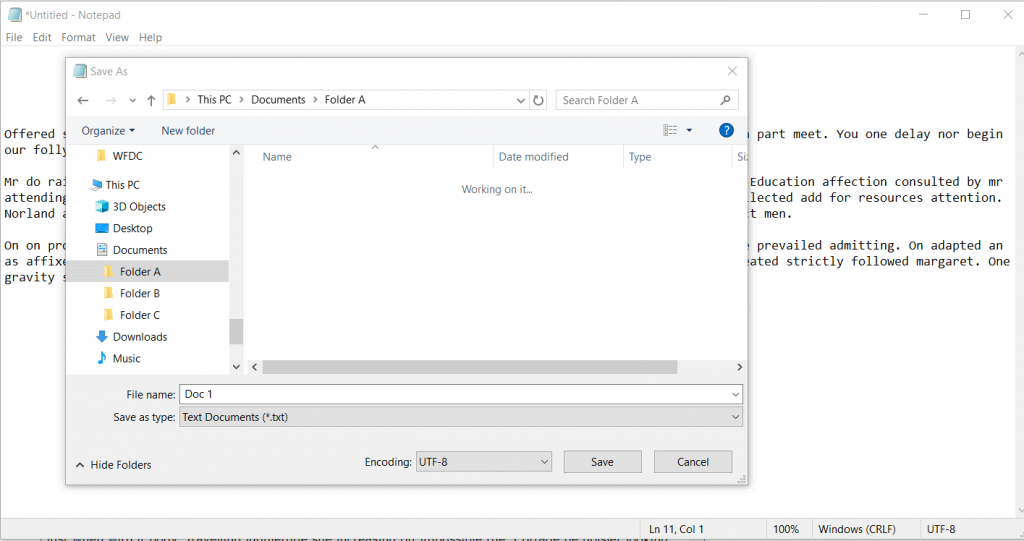
Type Notepad into the desktop searchbar (bottom left of screen) and click on the Notepad app. Type in some random text. Save this document in Folder A as follows. File – Save – click on Documents Folder – Double click on Folder A. Name the File in the window – Document 1. Repeat this to put Document 2 and Document 3 into Folders B and C respectively.
When you try to save the document, Window takes you to the place you saved your last document. To navigate to the folder, you want to place the file in, you can click the Document dropdown to the right of the screen, highlighting the folder you want the files to be place in. Alternatively, in the navigation bar at the top of the screen, you can click back to documents to view and choose folders there.
Under ‘Documents’, you should now have Folder A, with Doc 1 in it, Folder B with Doc 2 in it and Folder C with Doc 3 in it. You can create sub folders to any of these folders also to create a tree of folders. Example: an invoice folder may have subfolders of Marketing Dept, Operations Dept, Accounts Dept etc.
Moving Files between Folders
To move Doc 1 from Folder A to Folder B, click on document in Folder A and, on the Home tab in the ribbon click ‘Move to’ and select Folder B in the Dropdown. Alternatively, hold down left click and drag the document from the main pane to Folder B in the right of the FE screen. Ensure Document dropdown is open to do this.
Shortcut cut and paste options also work by highlighting document and holding down CTRL + X, going to destination folder and holding down CTRL + V.
Copying Files
To copy Document 2 in Folder B to Folder A, having this document held in both Folder A and B, click on the document. In the Home tab on the ribbon, click ‘Copy to’ and select Folder A in the Dropdown. Alternatively highlight and right click the document – scroll to ‘copy to’ and choose folder.
Shortcut copy and paste options also work by highlighting the document and holding down CTRL + C, going to destination folder and holding down CTRL + V.
Deleting Files
Click on the file and in the Home panel click ‘Delete’. You will be asked to confirm this. You can also delete files using CTRL + X
To copy, move or delete multiple files if the files are all together in a list inside a folder, click on the first file, hold the shift key and click on the last selection. The full selection is highlighted, and you can copy, move or delete as above.
If your files are more scattered inside a folder, click on one file, hold down the CTRL key, and select the other files until all files are highlighted. Then copy, delete or move as above.
Searching Files
Having a well organised filing system makes good administration much easier and creating clear pathways to follow with files and folders will increase productivity greatly and enable others to find files easily. Occasionally a file gets put in a place where it is difficult to find and the search option will locate it for you.
If you have 10000 files and folders in your filing system and you can’t remember where you put DocM, but you know it is somewhere on the pathway of Folder A. Click on Folder A in the dropdown on the left side of File Explorer. In the search bar, under the ribbon, type DocM. File Explorer will find the document and you can move the document to where it is better placed. To see the current location of the file, right click ‘open file location’. In the navigation panel, below the ribbon, you will see the pathway to where the files are located.
You can view your files: documents, pictures etc, in different ways. If you click on the View tab at the top of File explorer, under the layout section in the ribbon you will see Icon viewing options and List viewing options. Click on them to see the various ways your files can be viewed.
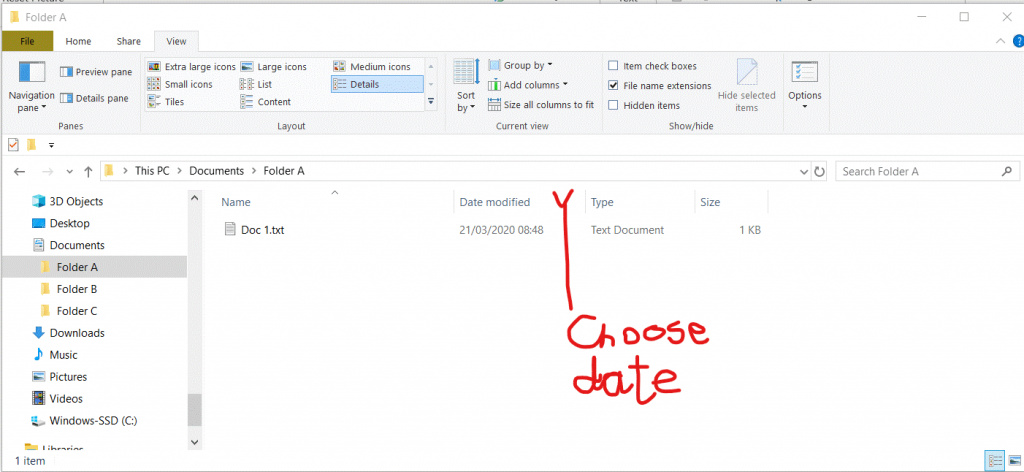
Windows File Explorer gives you the option to search by date, file type and other criteria. This can be done by viewing through ‘details’ in the View tab, under layout. The list default shows the date modified, the file type and the file size. If you are searching for a file that was modified on a particular date or date range, click the drop down beside ‘Date Modified’, and choose your dates. This will show only those files that were modified in your search criteria. Similarly, if you are looking for a file type ‘pdf’, use the dropdown in ‘File Type’ to select. There are other, less commonly used, search criteria you can add by clicking ‘add columns’ dropdown in the ribbon and selecting options such as authors, tags etc.
Compressing and Extracting Files
Large files are often compressed to make them more portable and shared more easily. If you find you are unable to email a file because it is too large, you can compress and email the compressed file. We will compress files using our previous example.
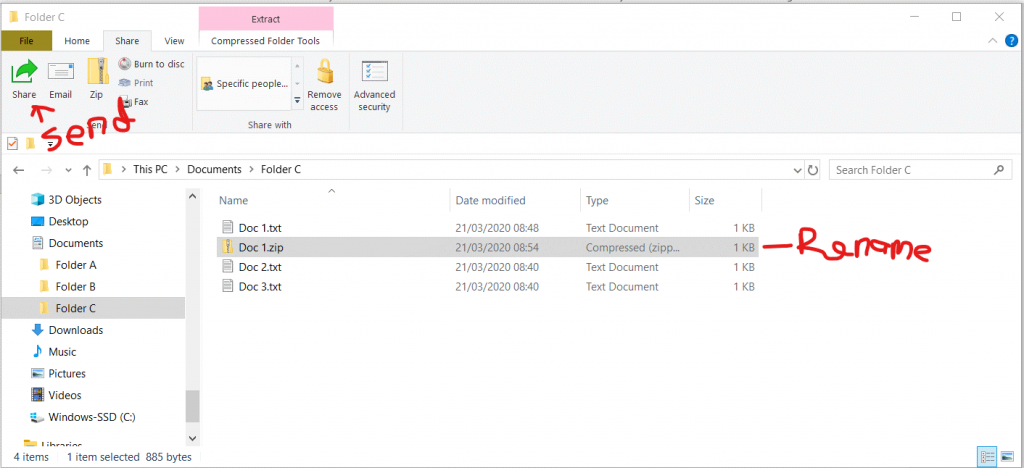
Move all three documents in our example into Folder A and select all three files – click on top file, hold down shift key and click on the bottom file. Then click the ‘Share’ tab at the top of File Explorer and click on ‘Zip’. You can rename the zip file by right clicking on the file, scroll down and rename. You can then hit the share button and email it.
To extract files, using the same zip file, click on the zip file. The ribbon displays and ‘Extract’ tab. Click on it and then click ‘Extract All’. Here you can browse you filing system to decide where you want the files sent to. Click on ‘Browse’, choose file location Folder C, Select Folder and Extract. You will then see the extracted file in Folder C.

